Unity has added great support for isometric tilemaps in recent years. You can work on tiles of your own dimensions over different layers.
Tilemap Layers
You can take the different layers from Unity’s example isometric game as a solid starting point:
- Ground Layer The layer where the player walks on. Most of your levels will usually be made of ground tiles.
- Ground Detail Layer The obstacles and decorations related to the ground layer, a car for example.
- Level 1 layer The “First floor” of the map. It’s the layer the player walks on after having walked on a ramp and reached the “first floor” of the map.
- Level 1 Detail Layer The obstacles and decorations related to the “first floor”.
- Collider Layer The only layer where automatic collision detection takes place. Used for both non-walking areas and obstacles.
Unity uses these layers to figure out what to draw on top or behind every single item in your scene since isometric is 2.5D: a 2D environment that gives the illusion of 3D.
Playing in the editor
Before trying to use procedural generation you should start with the unity editor. Open the tile palette and place it next to the scene view. This way you can easily drag tiles from the palette to your scene.
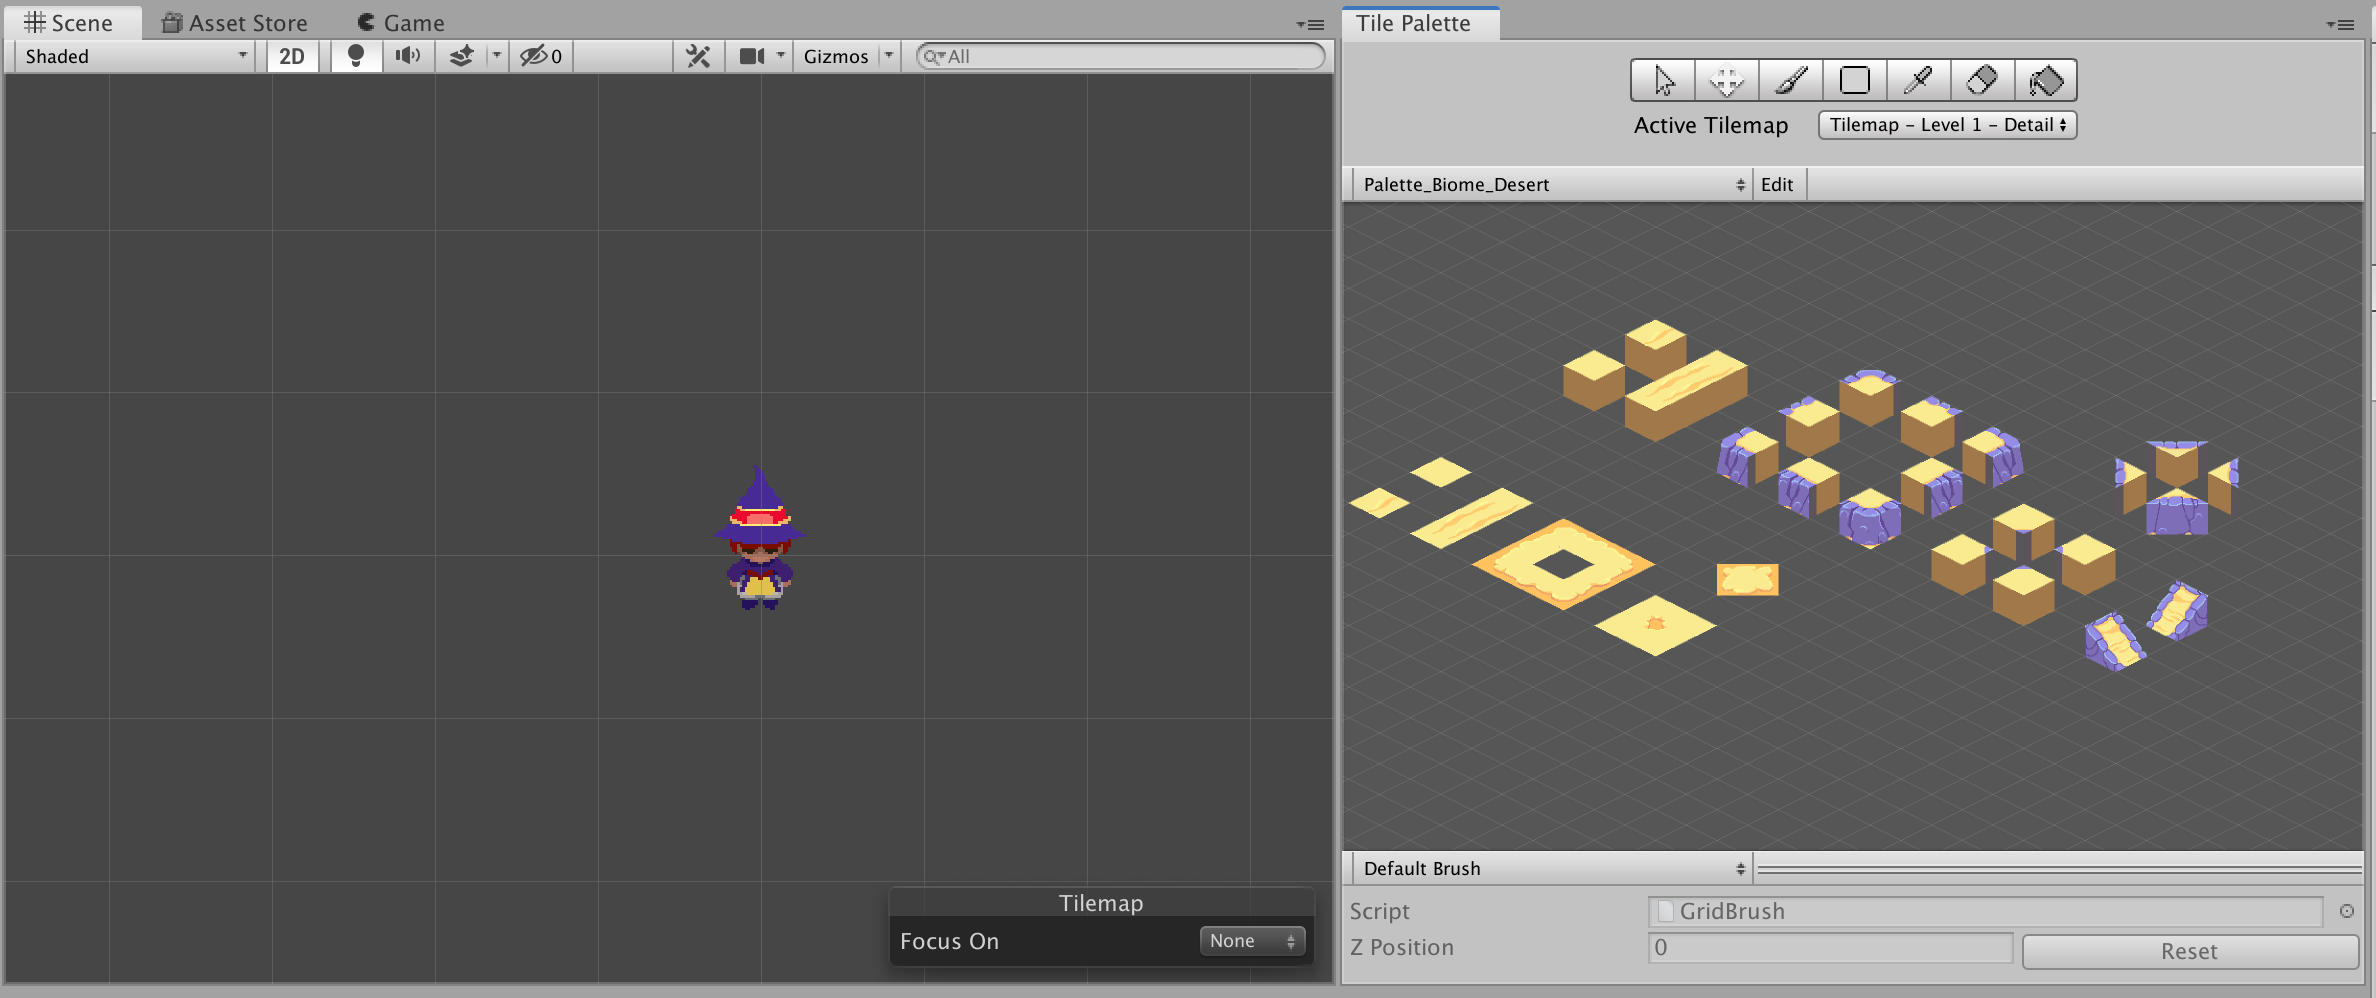
Before doing that you need to add your sprites to the palette (or you can use this example project from Unity). From the tile palette click on “Create New Palette”, give it a name and save the file. Drag your spites in the tile palette editor saving the generated file. After you’ve finished dragging anything you can now paint your grid. Don’t forget that you can create multiple palettes if you need, for example, you can have one palette for each level or one palette for each biome.
From the left panel open up the grid gameObject and take a look at your available layers. Try to map out mentally which layer would be more appropriate for each object you plan to add to the scene. Don’t worry if you’re not certain yet, you can always go back to your tilemap and change any tile.

When you have a rough idea about what’s going to end up as your ground - base layer marks it active from the tile palette.
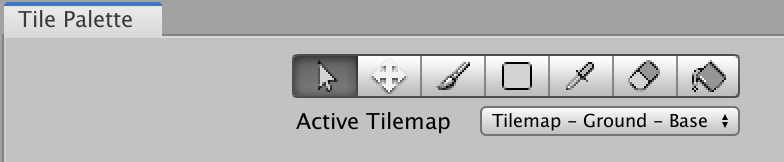
Select the specific tile you want to add to the ground layer. Double click on it and drag it into the scene. You can now keep dragging tiles or simply paint as if you were in Photoshop.
Once you’re satisfied you can move on to the other layers and follow the same exact steps to add them to the scene. Take care about the collider layer since it’s the only layer that will collider with your player.
Play the game and test it out. If you’ve set up a high velocity for your character you might notice that collision detection is spotty, that’s due to the fact that currently collision detection is set as dynamic. Set it to continuos to fix the issue.
You can now use the Eraser tool to delete everything from your scene.
Procedural Generation
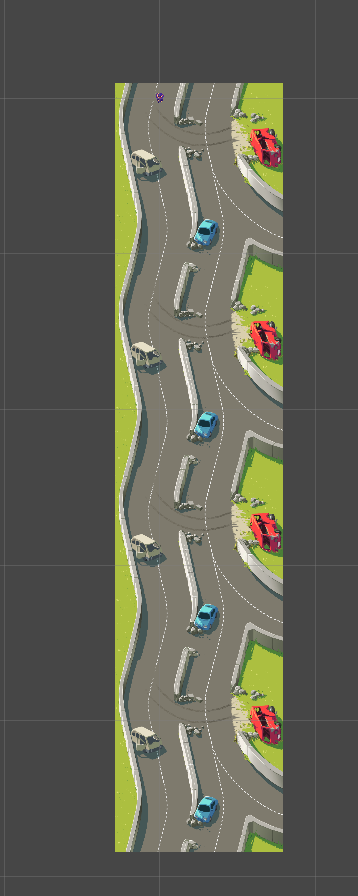
The tilemap I was working with consisted of a single tile for each section of the map. The player would start at the top of the section and move downwards. The various tiles needed to be placed at the same distance, one below the other.
This is going to be the result:
The Tile
First, create a new class to hold the different layers for each section of our tiles. In my case, this meant 2 tiles: one for the ground and one to be used both for the collider layer and the ground detail.
But this aggregate tile could grow or shrink based on the needs of the specific application. If you need an additional layer you can add it, same thing if you need to remove it. I can’t stress enough that the important part of the system is that it has been designed based on having 1 tile per section and it won’t work for any other use case, but for this use case, it’s great.
Ztile.cs:
using UnityEngine;
using UnityEngine.Tilemaps;
[System.Serializable]
public class ZTile
{
  public Tile tile;
  public Tile obstacle;
}
We use [System.Serializable] so that we can add tiles from the inspector. This way if we have a designer they can add custom tiles and try new designs without the need of having a developer present to edit the code.
Defining The Generator
Next, we create the actual map generator: TileMapGenerator. In this file, we store an array of our custom Ztile to hold the different sections so we can map each tile to the correct layer. In this case we are using a few different layers, but for more complicated setups yo ucould always add more layers when needed.
using System.Collections;
using System.Collections.Generic;
using UnityEngine;
using UnityEngine.Tilemaps;

public class TileMapGenerator: MonoBehaviour
{
  [SerializeField]
  public ZTile[] tiles;

  public Tilemap groundBaseTileMap;
  public Tilemap groundDetailTileMap;

  public Tilemap leve1TileMap;
  public Tilemap leve1DetailTileMap;

  public Tilemap collisionTileMap;

   /// <summary>
  /// Start is called on the frame when a script is enabled just before
  /// any of the Update methods is called the first time.
  /// </summary>
  void Start()
  {
    GenerateMap();
  }

  public void GenerateMap()
  {
    if (tiles.Length < 1)
    {
      Debug.Log("no tiles");
      return;
    }
    foreach (var item in tiles)
    {
      //TODO: Generate map for each section
    }
  }
Everything is pretty straightforward. We are going to put our sections into the tiles array. When we start a new level we can use this array to populate the map with the level’s tilemap.
In this example we have only one level, but if we had multiple levels we could have an Hashmap for each level. Each Hashmap would contain the array of tiles for that specific level.
Set Up from the Editor
Go back to unity and add an empty gameObject to store the map generator. Drag in the script and populate the various variables by dragging in the respective components. Set 1 as the length of the tile array and drag your sprites. Make sure to drag the generated .asset file that we created when we dragged the basic sprite into the Tile Palette and not the sprite itself.

Before going back to the code we need to keep track of the tile position for each section. From the Tile Palette select the arrow icon and find the tile where you need to place the first section of the map
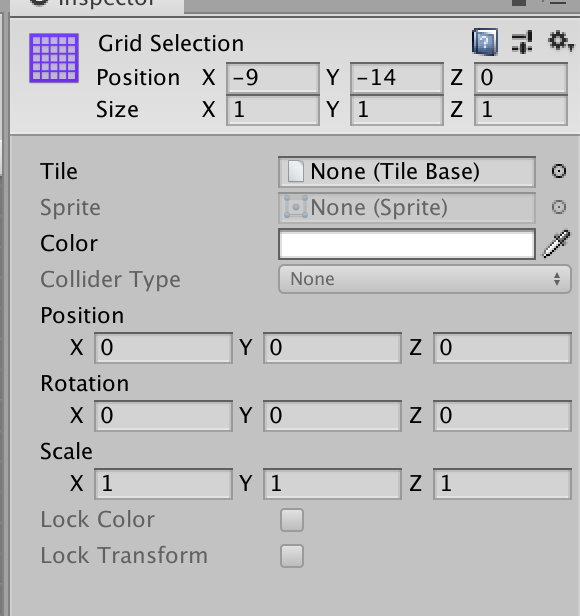
This is going to be your starting point. The other step we need to take is to find the offset between this point and the point for the second section. Be wary that each section needs to have the same dimensions in tiles for this method to work. You can try placing the first and second section manually and look where the tiles got placed
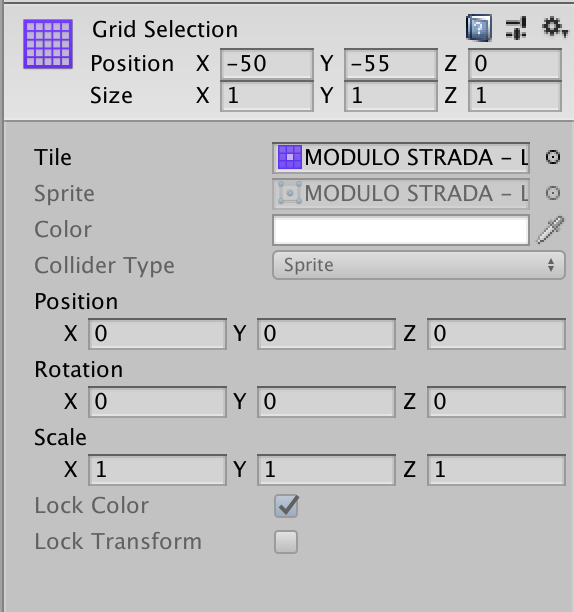
Calculate the difference between the two positions. The result is the offset we need between the different sections.
Putting it all together
Add two more variables to store them:
  private Vector3Int tilePosition = new Vector3Int(-9, -14, 0);
  private int tileOffset = 25;
They’re private variables since I don’t want them to be neither visible nor editable from the inspector.
For each section we now need to:
- generate the map by assigning (adding) the correct tiles to the correct tilemap
- update the tilePosition to this new section’s tile position so that when we generate the next section we can again add the offset to generate the position for the next section.
foreach (var item in tiles)
    {
      GenerateSingleLayerMap(item);
      tilePosition = new Vector3Int(tilePosition.x - tileOffset, tilePosition.y - tileOffset, tilePosition.z);//add offset
    }
We first generate the map on the current position and we update the position right away. All is left is to create the function to generate the map:
private void GenerateSingleLayerMap(ZTile usingTile)
  {
    GenerateMapForTilemap(groundBaseTileMap, usingTile.tile, tilePosition);//1

    if (usingTile.obstacle != null)//2
    {
      Vector3Int tilePositionObs = tilePosition;//3
      GenerateMapForTilemap(groundDetailTileMap, usingTile.obstacle, tilePositionObs);
      GenerateMapForTilemap(collisionTileMap, usingTile.obstacle, tilePositionObs);
    }
  }
- First, we add the ground base using the ground
.tiletile. - We check if we have any obstacle associated to this ground tile (usually we do, but we want to also cover the case when we don’t) and if we do we add the obstacle both to the ground detail and to the collision layer. This is specific to how my graphics are, you might want to have 2 different tiles for each, to do that just add a third property to the
ZTileclass. - I don’t need this, but if for some reason your obstacles have an offset related to your ground and you need to align them you can do so here.
The GenerateMapForTilemap function is really easy, it takes a map, a tile, and a position and adds the tile to that position of the map:
private void GenerateMapForTilemap(Tilemap map, Tile tile, Vector3Int position)
  {
    map.SetTile(position, tile);
  }
Build and run the project. You can now add more entries to the tiles array and the new sections will get added below the last one.
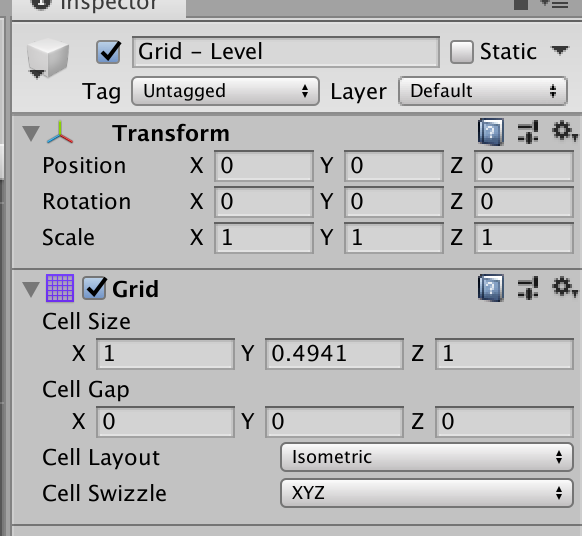
If they don’t align correctly you either need to fix your graphics or change the tile dimensions. To do that select the grid and edit the cellSize.